Sure, here’s a step-by-step guide on how to edit a video in KineMaster
So today, I will tell you how you can edit tutorials because many people might be good at editing like YouTube shorts, Instagram reels, and you want to upload your tutorial on YouTube, but you don’t know the correct way to delete it. With my experience of editing around 150+ tutorials, I can tell you how to edit tutorials so that your audience can understand it well. There might be some who know more than me, but if you already know, then still watch this tutorial because I will share some new things as well.

Step 1:
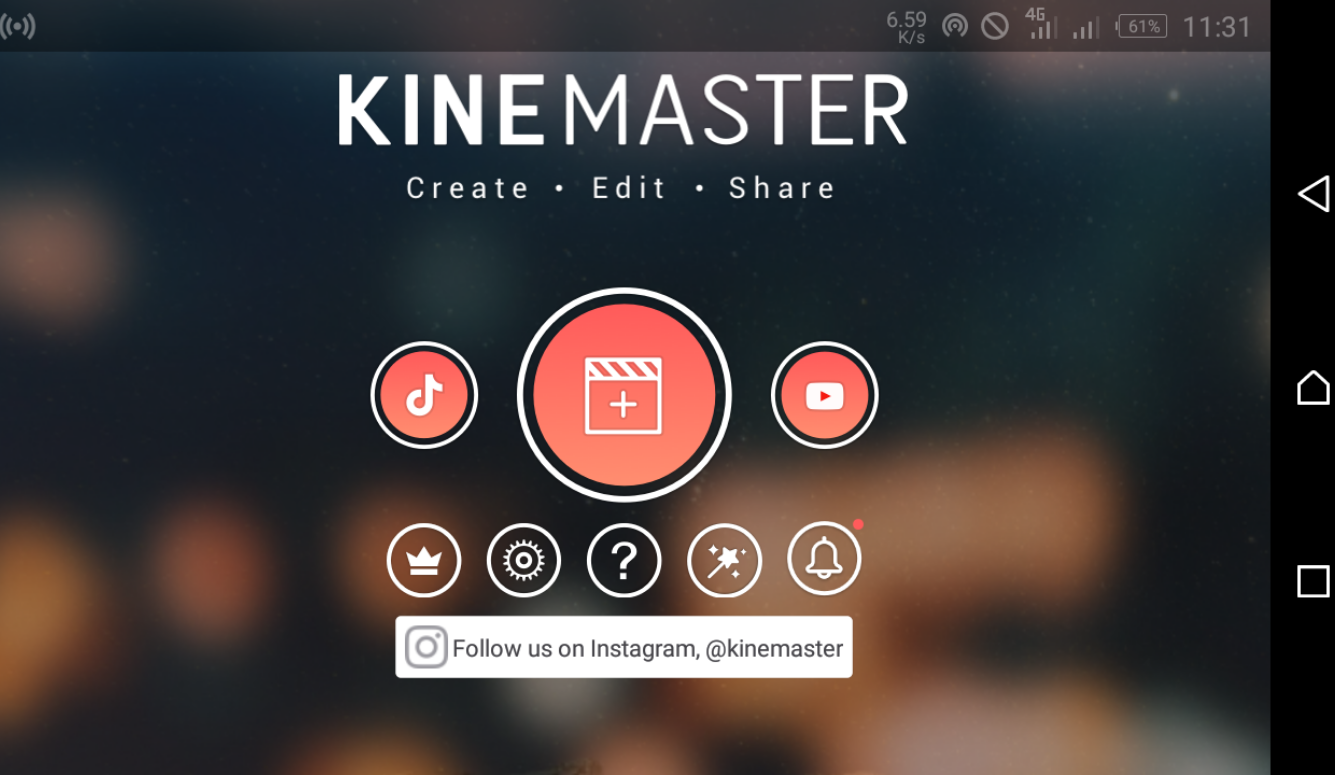
Open KineMaster app on your device and click on the ‘+’ icon to create a new project.
Step 2:
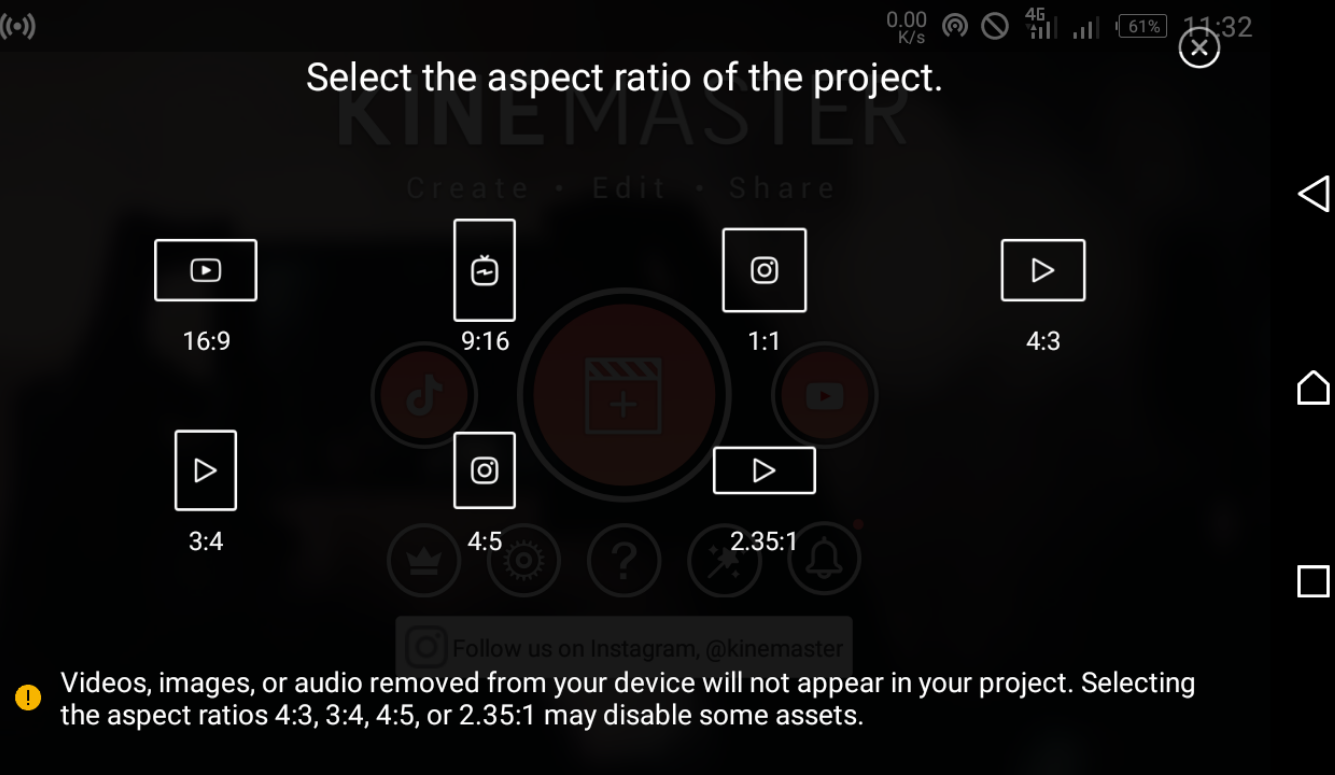
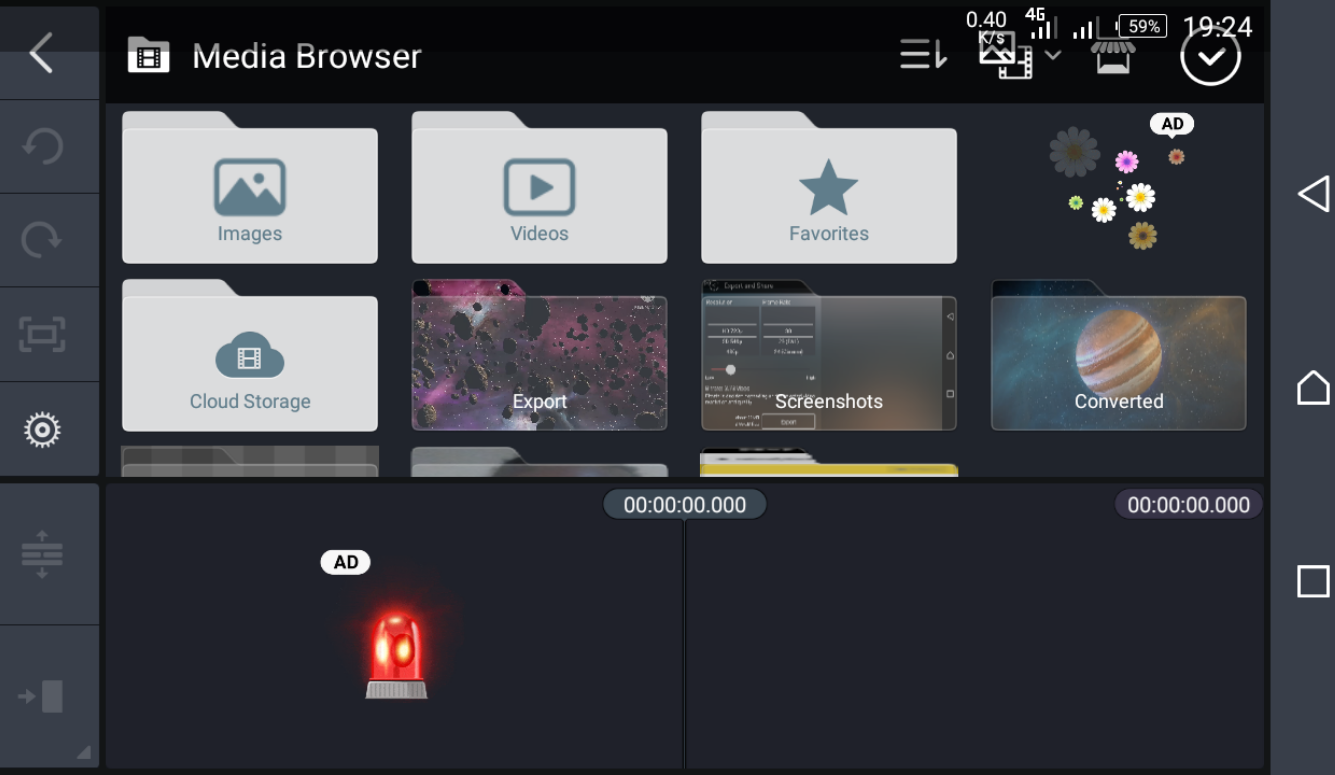
Choose the aspect ratio and resolution that you want to work with and then select the media file that you want to edit from your device’s storage.
Step 3:
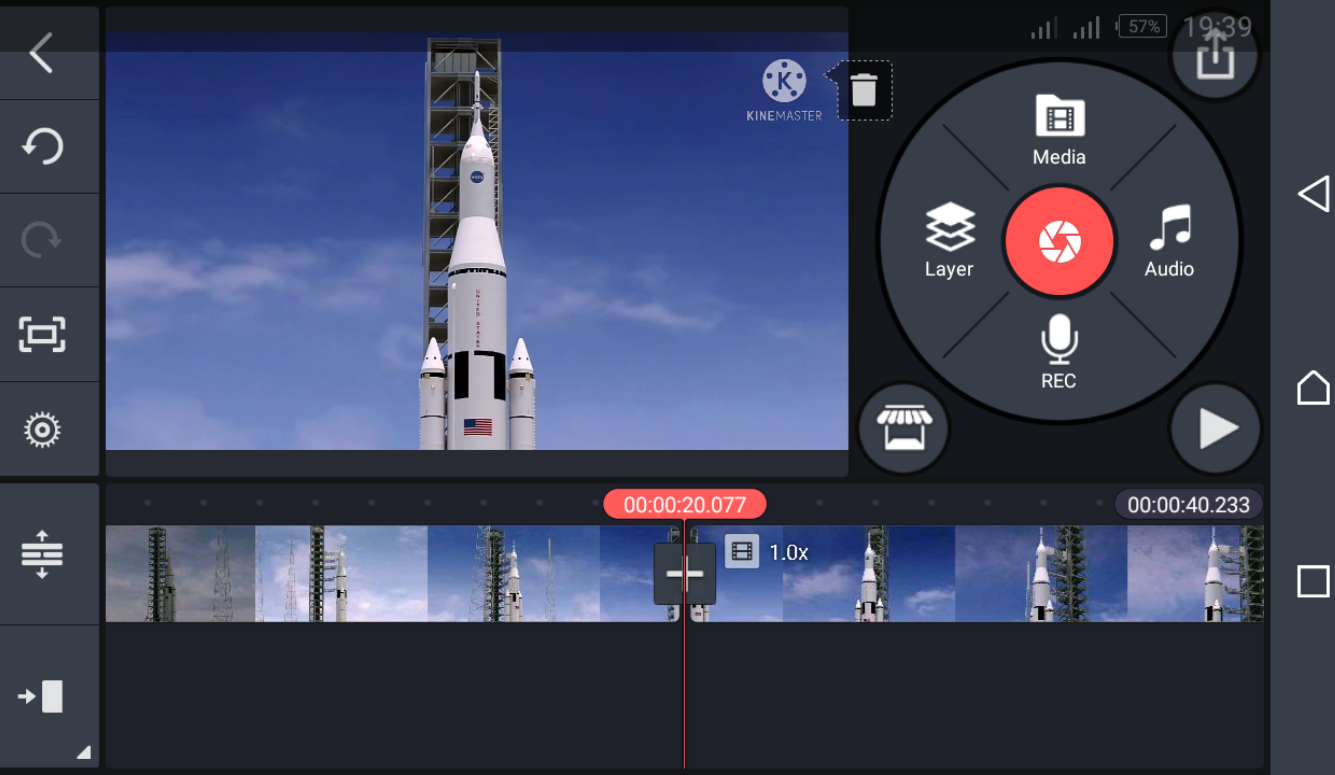
Once the media file is imported, you will see it on the timeline at the bottom of the screen. You can trim it, split it, adjust the playback speed, and add effects to it by tapping on the video clip and selecting the desired option from the menu that appears.
step 4:
To add transitions between two video clips, select the first clip and then tap on the ‘Transitions’ icon on the top left corner of the screen. Choose the transition you want to use and drag it to the timeline between the two clips.
Step 5:
To add text to your video, tap on the ‘Text’ icon on the top right corner of the screen, and then select the type of text you want to add. You can customize the font, color, size, and animation of the text.
![]()
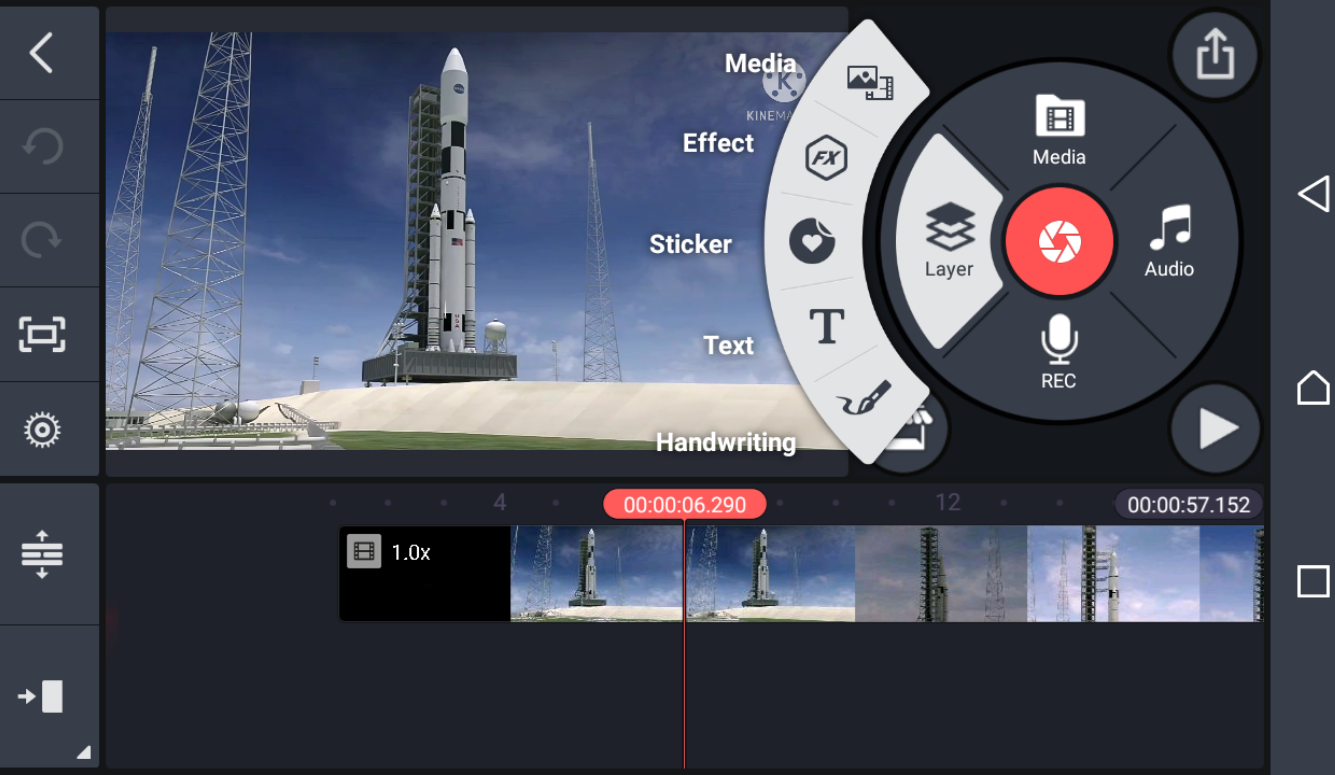
Step 6 :
KineMaster also offers a variety of effects, stickers, and overlays that you can add to your video. To access these options, tap on the ‘Layer’ icon on the top right corner of the screen, and then select the desired option from the menu that appears.
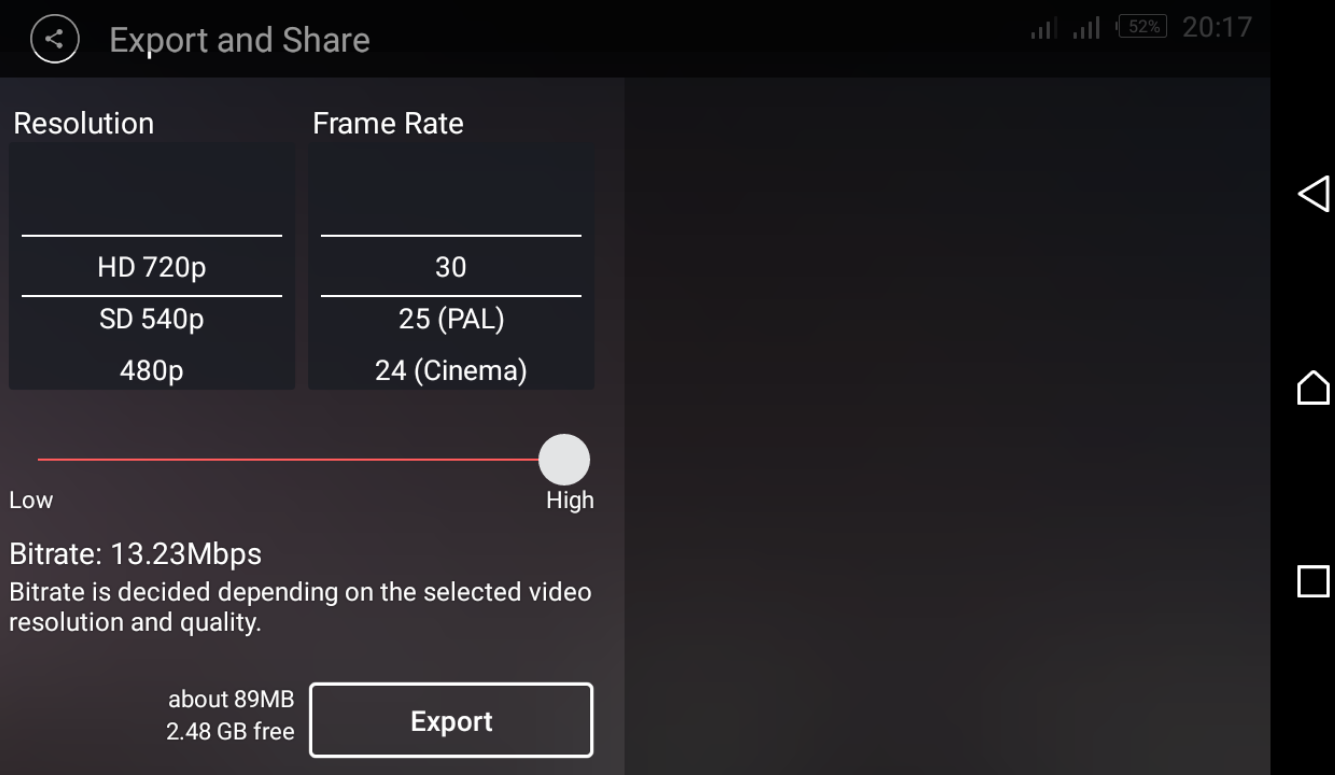
Step 7:
Once you have finished editing your video, you can preview it by tapping on the ‘Play’ icon on the top right corner of the screen. If you’re satisfied with the result, you can save it by tapping on the ‘Export’ button and selecting the output format and quality.
step 8:
Finally, choose the location where you want to save your edited video and wait for KineMaster to render it. Once the rendering is complete, you can share your video on social media or with your friends and family.
So, you guys can use Coin Master to edit your tutorial. Yes, I know that you might not have understood it properly because I explained it in the form of text. If you want to see this thing in the form of a video and understand it better, then I will provide a link below in the video calling section. You can click on it and watch the video and edit your tutorial properly just like I do and like everyone else does. You guys can do it even better. And yes, I might have made a lot of mistakes while writing above, so I apologize for that. So, that’s it for today. I hope you guys liked this block and if you liked it, then please leave a lovely comment.
Sure, here’s a step-by-step guide on how to edit a video in KineMaster:
👇👇👇👇👇👇👇👇👇👇👇

